DIY Dell XPS 13 battery replacement can be daunting but it can help you save money too. Here’s the situation: Is your Dell XPS 13 constantly tethered to a charger? Does it shut down the moment you unplug it? That’s what happened to me.
If you’re experiencing the same, then you’re likely dealing with a worn-out battery. Before you spend a small fortune on a professional repair or consider replacing the entire laptop, know this: replacing the Dell XPS 13 battery yourself is an achievable DIY project.
Why Replace Laptop Battery?
Firstly, a new battery restores the laptop’s portability. For a long time I could not bring my laptop anywhere, even within the apartment, without the charger. Simply because the laptop doesn’t even turn on unless it remains plugged in.
Secondly, a new battery can also prevent issues like sudden shutdowns during important work and, in extreme cases, address the risks associated with a swollen battery, which can damage other internal components.
Thirdly, and this is a very personal reason – NGL the Dell XPS 13 is a really fine laptop. After all these years (ten years to be exact!), I still appreciate the sleek slim design and light weight. I do not require the use of a laptop often enough to justify getting a brand new one. But on occasions when I need to bring a laptop with me, the Dell XPS 13 is a delight to carry around and the performance is reliable. Therefore I’d like to extend its lifespan for as long and as cost-effectively as possible.
If you have read my previous post on the Dell XPS 13 sticky palmrest issue, I have been contemplating about battery replacement for a while but kept procrastinating. Initially I wanted to get a professional to do it for me. So I went ahead to inquire about the cost from the computer repair shop that I went to years ago and was quoted SGD160. This cost is inclusive of cost, labour, free pickup and delivery, 6 months warranty.
After receiving this quotation, I became curious how much the battery alone would cost so I began to source for a third-party compatible battery online. I took a chance and placed an order here, with the intention of attempting to replace the battery myself. I reckon if this didn’t work out, I can always fall back on getting the professionals to remedy the situation. Either way, it would be a learning experience for me. *crossing fingers*
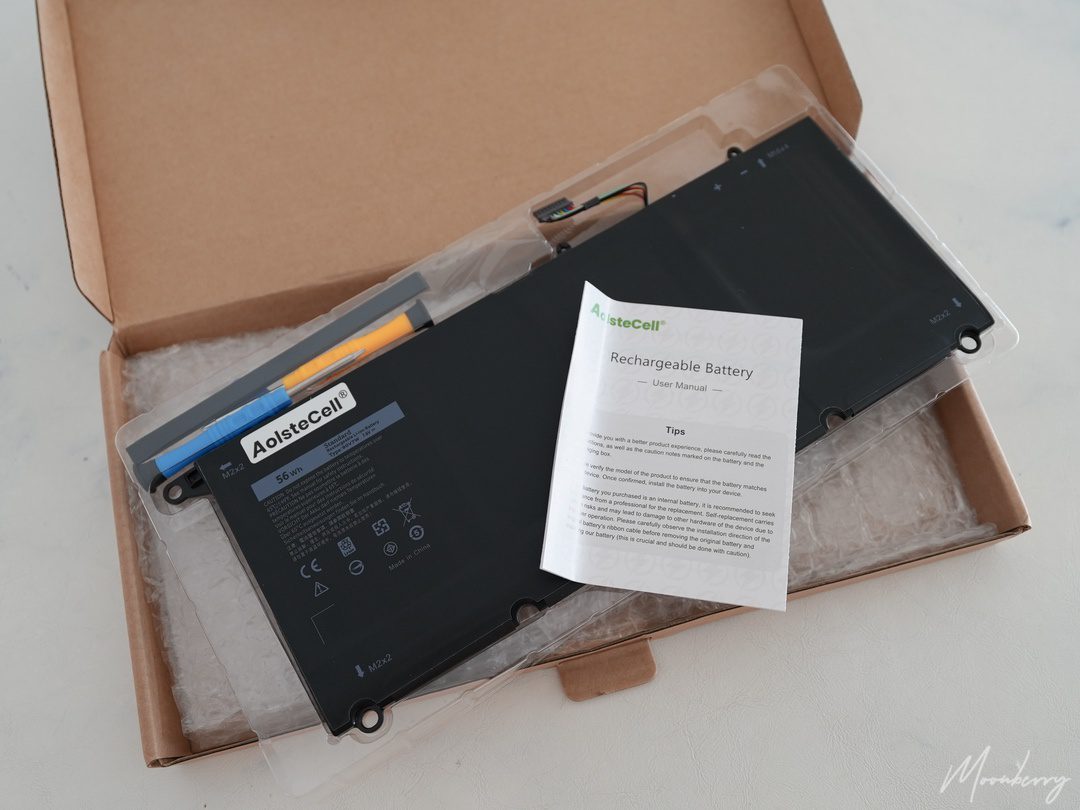
What follows next is my process of a DIY Dell XPS 13 battery replacement. I have never done this before so I am nervous but also excited. Let’s get started. But first!
- Be Gentle: The XPS 13 is a beautifully engineered but delicate device. Do not use force.
- Power Down: Shut down the laptop completely.
- Unplug Everything: Disconnect the AC adapter, USB docks, and any other peripherals.

The Step-by-Step Dell XPS 13 Battery Replacement Process
Step 1: Unscrew the Bottom Cover
Flip the laptop over. You’ll see eight screws securing the bottom plate. Carefully unscrew them. Note: There is one screw under the XPS metal flap which is longer than the others. Keep them separate.

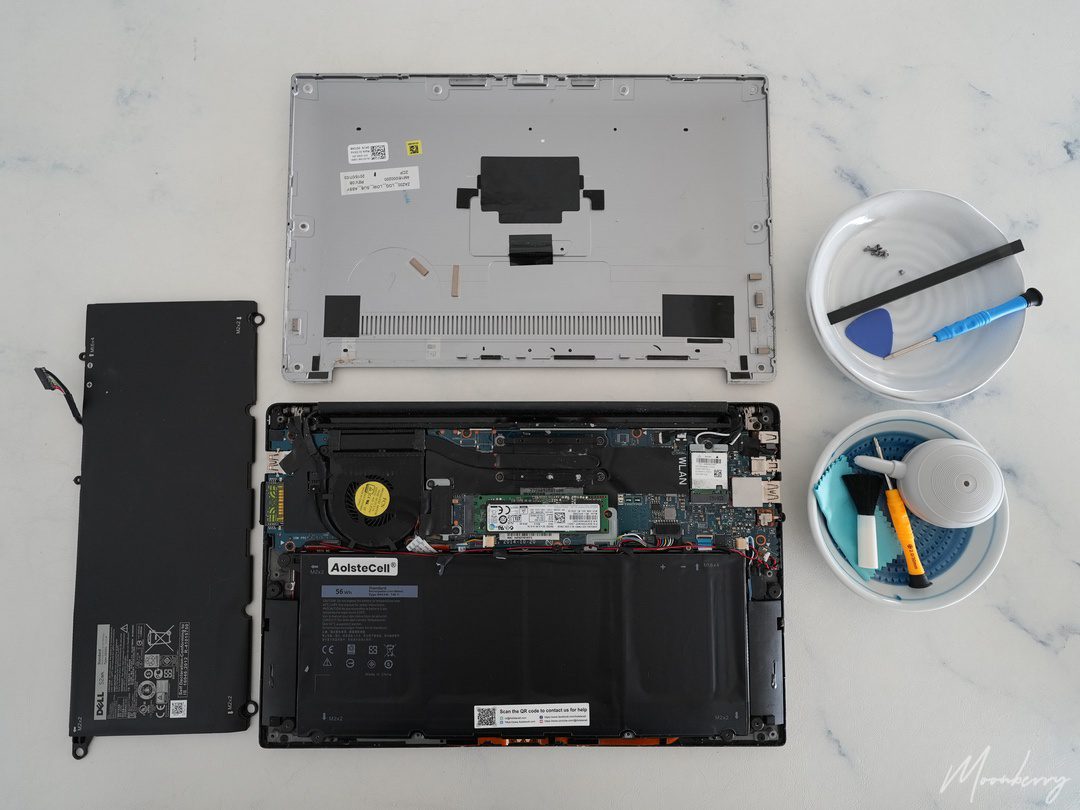
Step 2: Remove the Bottom Cover
Using a plastic pry tool, gently work your way around the edge of the cover to dislodge it. Start at the corner notch and slowly lift the cover away.

Step 3: Unscrew the Battery
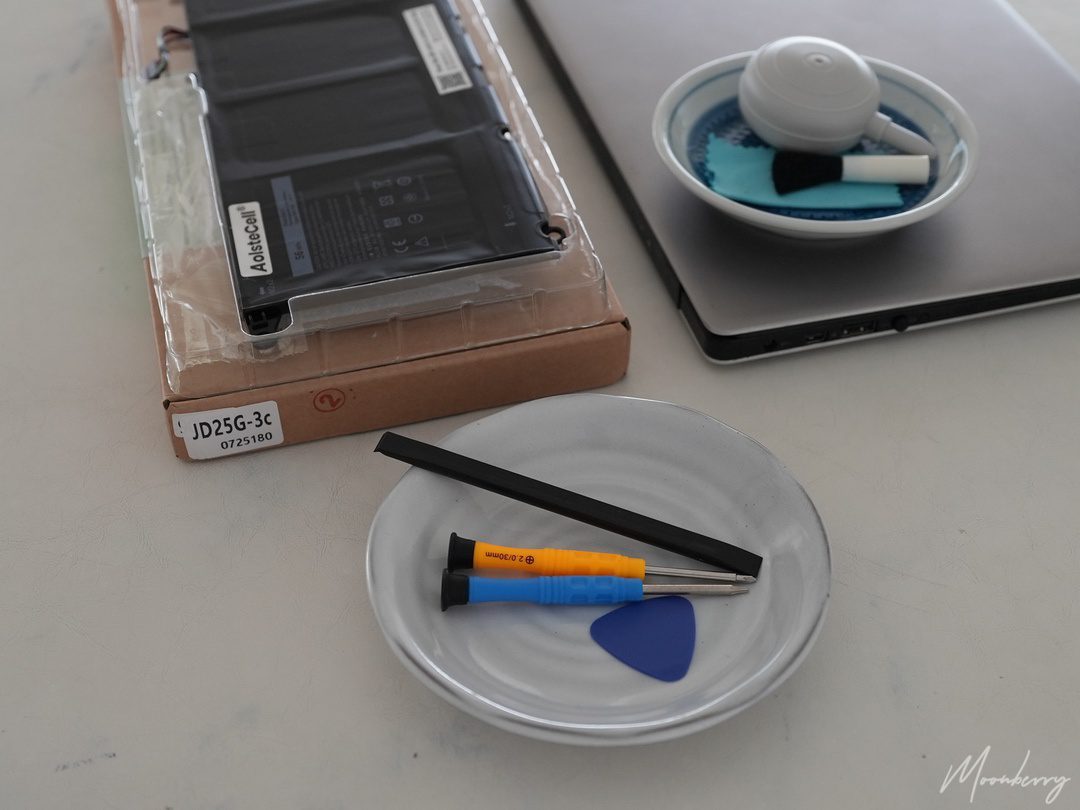
The battery is held in place by several screws. Unscrew them all and set them aside. (I used a small plate to hold these tiny screws.) There are some fine wires secured by tiny black tapes around the battery. Slowly lift up the black tapes. Do not pull on the wires.


Step 4: Remove the Old Battery
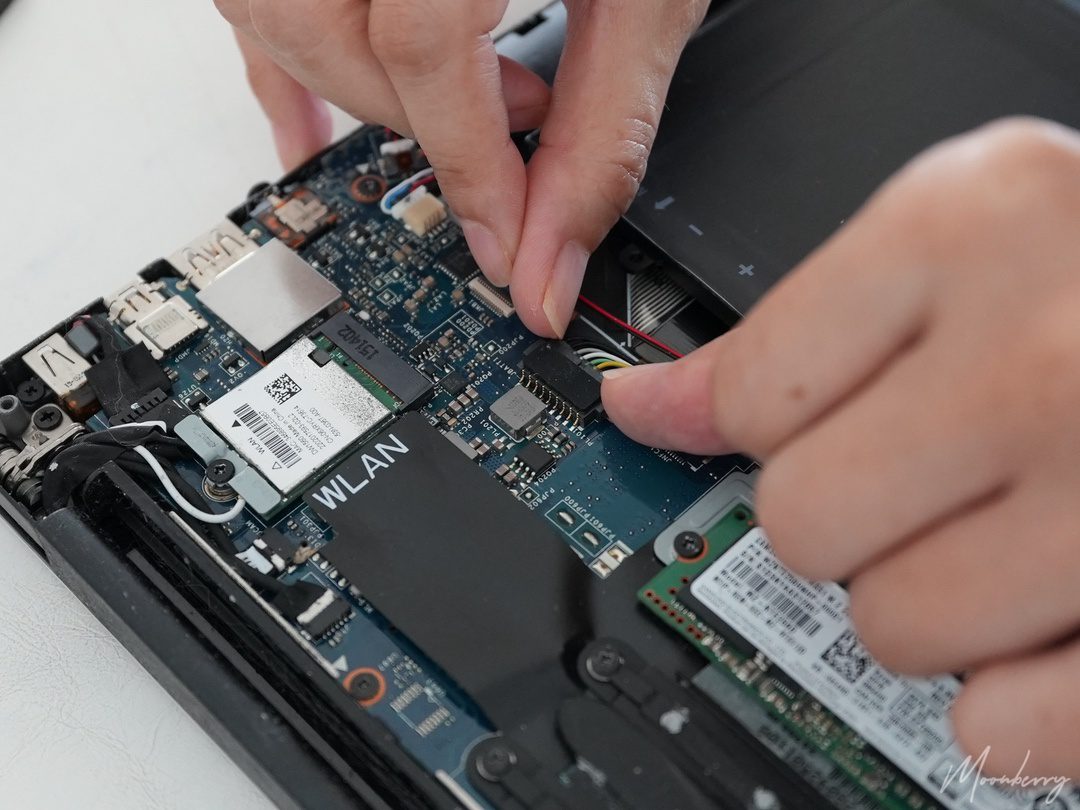
Locate the battery connector on the motherboard. It’s a wide plug with multiple wires. Disconnect the battery connector from the motherboard socket. Gently lift the battery from the edge. Work slowly to avoid disturbing the fine wires around the battery.


Step 5: Install the New Battery
Place new battery in the chassis. Screw it in place firmly but do not overtighten. Reconnect the battery connector to the motherboard socket. You should hear a faint click or feel it seat securely.

Step 6: Reattach the Bottom Cover
Align the bottom cover correctly and press down around the edges until every corner snaps into place. Replace and tighten all screws, remembering to use the long screw in the correct hinge position under the XPS metal flap.
I restarted and turned on the laptop in BIOS mode to check the new battery’s health. Thankfully I noticed significantly improved battery life. I’ve successfully given my Dell XPS 13 a new lease on life and the process is so satisfying. Whooohoo!!! (and PHEW). Replacing components like the battery and fixing issues like the sticky palmrest are key to extending the life of this premium laptop.

Total cost: SG$52.08 with free shipping. I hope this DIY Dell XPS 13 battery replacement guide is helpful to you and has empowered you to save money while acquiring a new experience.