One of the easiest cakes to make is Burnt Cheesecake and I have made it a handful of times succcessfully. I don’t bake often but this recipe is so easy and relatively forgiving. Homemade Burnt Cheesecake is great as after-dinner dessert and guests will be impressed. It is also a nice homemade gift to send to a friend for special occassions.
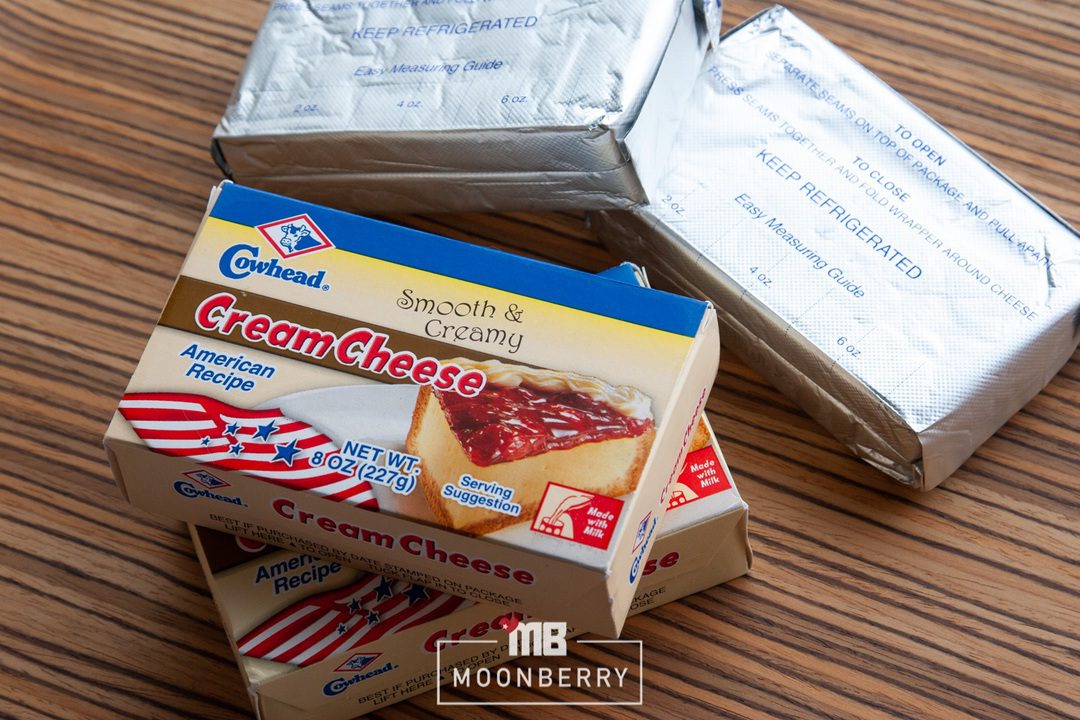
Considering that the resulting Burnt Cheesecake is delicious and rich, the ingredients are pretty basic. The main ingredient is cream cheese and two solid blocks go into the recipe for this decadent treat. I like to include lemon juice into the recipe to give the cheesecake a more punctuated flavor and it helps to bring out the umami. As for the sweetness, half a cup of sugar is just the right amount for me and the resulting Burnt Cheesecake is not too sweet.
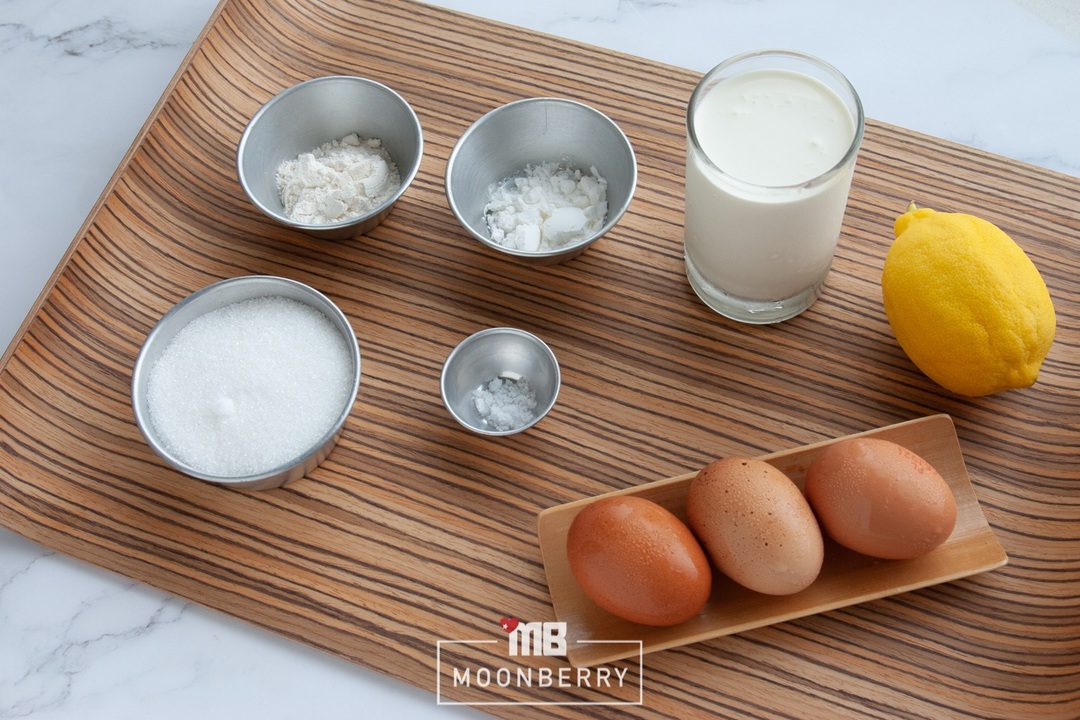
I find that the only part that requires effort in making this Burnt Cheesecake is making sure that there are no lumps in the batter. With every addition of ingredients to the batter, I have to constantly mix and stir to remove tiny lumps. The batter has to be really smooth so that it can produce a creamy and melt-in-your-mouth Burnt Cheesecake after baking. It is also critical that the oven heat is hot enough as we want the caramelized top. The dark color is highly desired and, in my opinion, this caramelized top is the most delicious part because the mild bitterness offsets the richness of the cake.
Burnt Cheesecake
2 blocks cream cheese (226g), room temperature
1/2 cup sugar
3 eggs
1 Tbs lemon juice
2 Tbs cake flour, sifted
2 tsp cornstarch
1/2 tsp salt
1 cup heavy cream or whipping cream
1/2 tsp vanilla extract
1. Preheat oven to 475°F or 245°C.
2. In a bowl, whip together softened cream cheese and sugar until the mixture if smooth and there are no lumps.
3. Add whisked eggs and lemon juice. Continue to mix until incorporated.
4. Add cake flour, cornstarch, and salt into the mixture. Mix well, making sure there are no lumps.
5. Add cream and vanilla extract, continue stirring until the batter is smooth.
6. Line two 18cm round baking pans with baking paper.
7. Pour batter into the baking pans and use a toothpick to pop any air bubbles before baking.
8. Bake for about 30-35 minutes. The cheesecake will rise and the top will be caramelized, we want the burnt appearance.
9. Remove from oven and allow to cool before putting in the fridge to set for at least 4 hours.
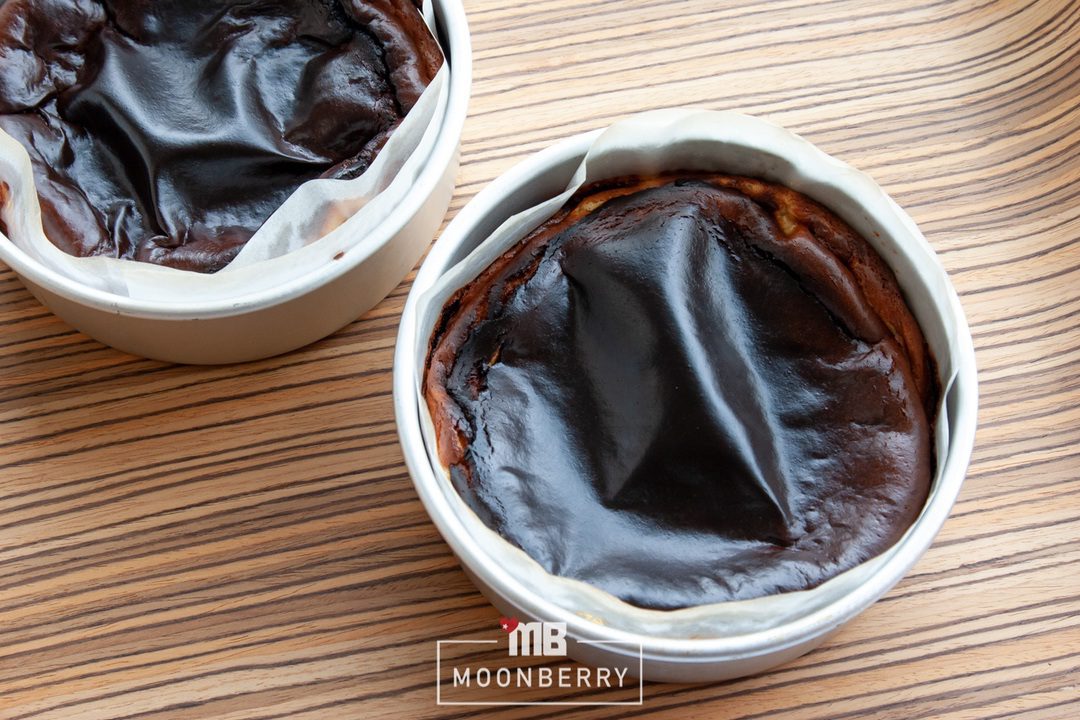
I used two 18cm round baking pans so the recipe above makes two cakes. During the baking process, the batter will rise and swells above the rim of the baking pan. But upon cooling down, that will deflate. I did not diligently remove air bubbles in the batter before I put the cake into the oven for this attempt, so there is air trapped beneath the crusty top. Ideally, the burnt top hugs the cake instead of detaching from the cake as shown in the photo above.
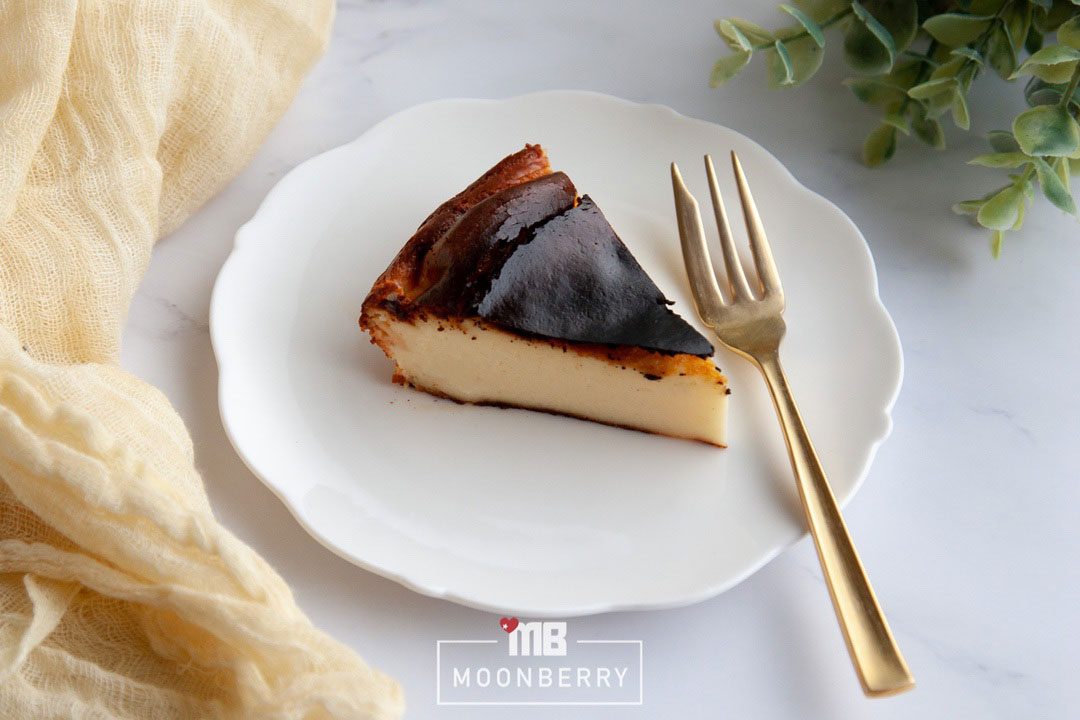
I have noticed that when I was using a different brand of cream cheese, this did not happen. I’ll have to make this a few more times and determine if the floating crust is caused by the ingredient, the method, the oven heat, or the process. Either way, I am delighted with the result of this attempt as the flavor is not affected and only the appearance fell short of perfection.
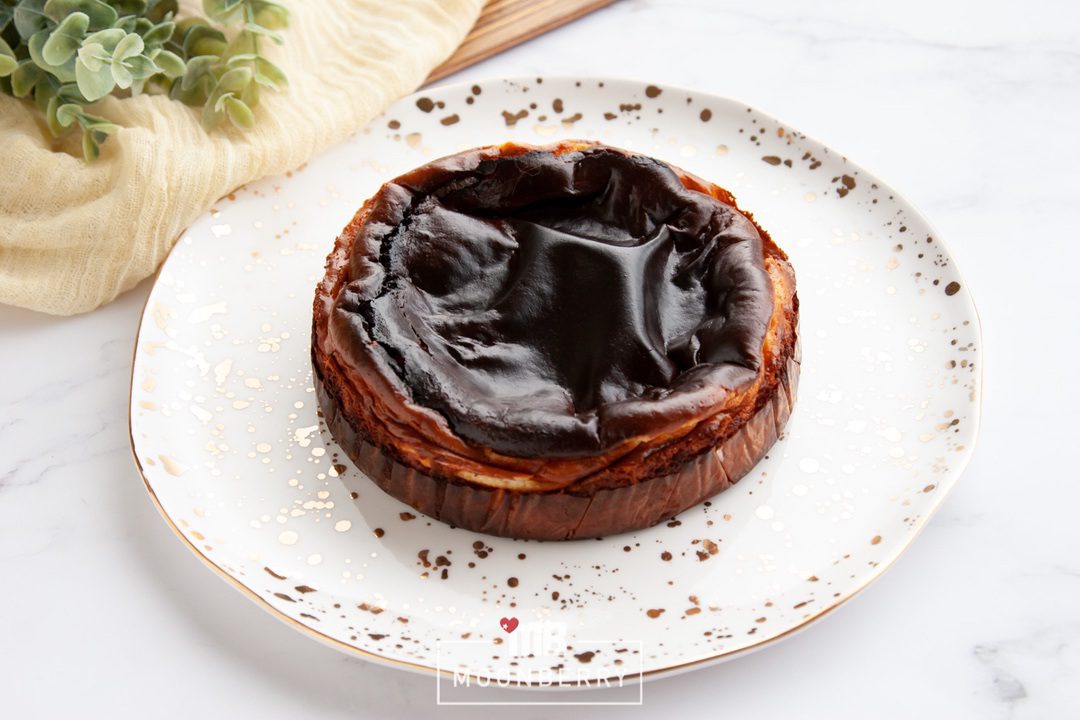
It is important to let the Burnt Cheesecake cool down completely and refrigerating it for at least 4 hours helps to set the cheesecake before serving. Even though this recipe is simple and uncomplicated, if you are planning to serve this Burnt Cheesecake for a dinner party, you will want to plan ahead and ideally make it the day before so that there’s adequate time for the Burnt Cheesecake to cool down and set before serving.
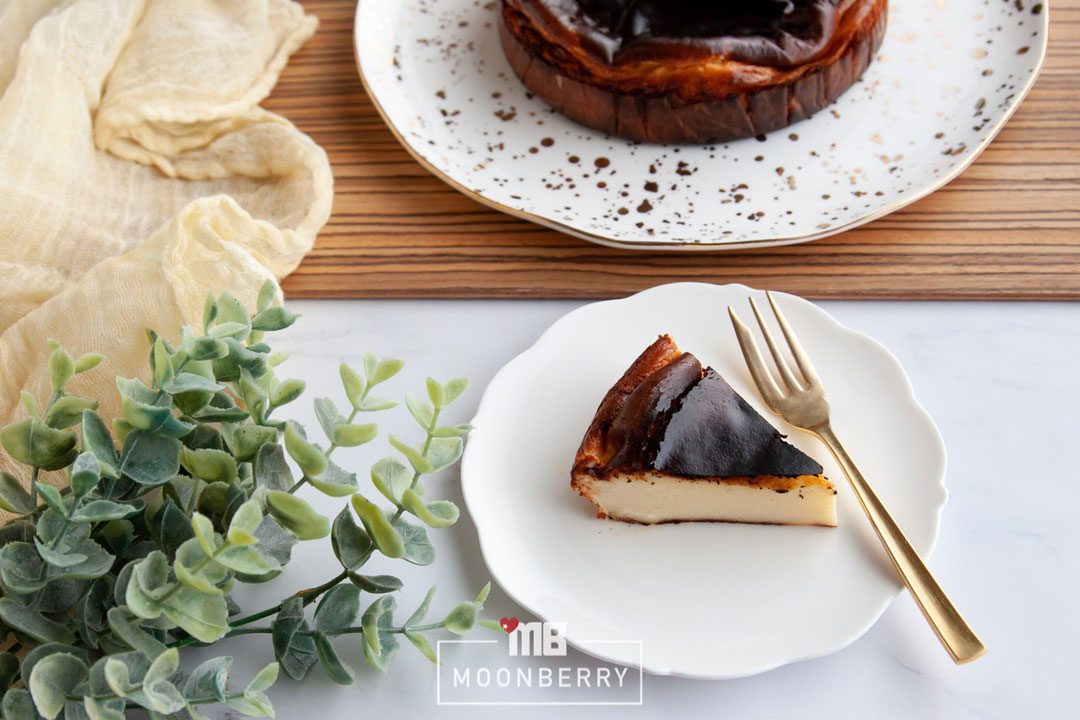
Unlike normal cheesecakes, the texture of this Burnt Cheesecake is more cake-like. Meaning, when the Burnt Cheesecake is properly cooled down and set, you can cut it easily with a knife without getting creamy smudges on the knife edge. I like to serve the cake as is, without any embellishments (Piped sweet bean paste flowers? Nah, too fussy and unnecessary.). After all, this Burnt Cheesecake is truly delicious and deserves to be the star.


