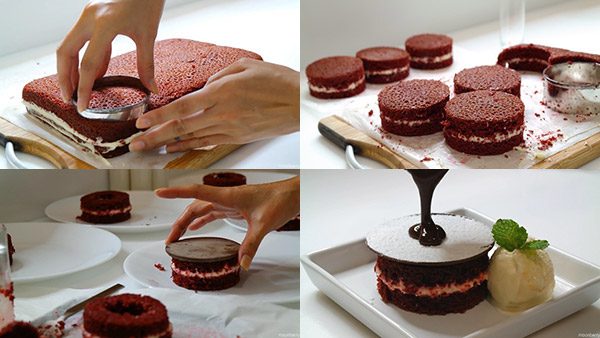
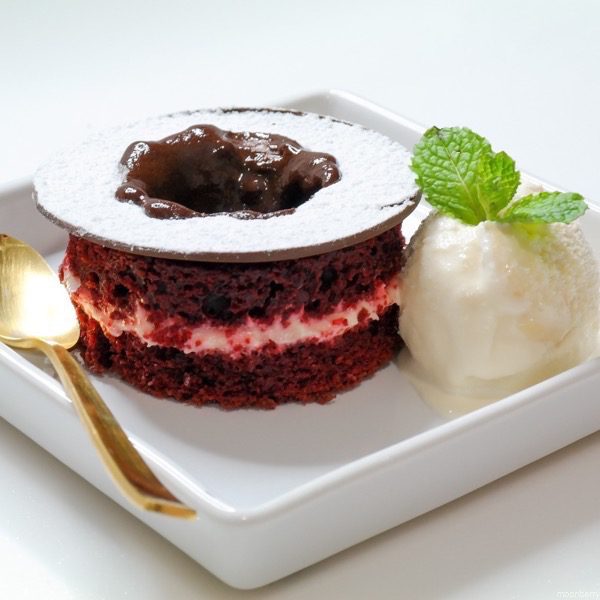
Impress guests at your next dinner party with this Red Velvet Lava Cake! Moist red velvet cake wearing a tempered chocolate disc hat, over which warm chocolate ganache is poured and creates a well of oozy-gooey deliciousness.
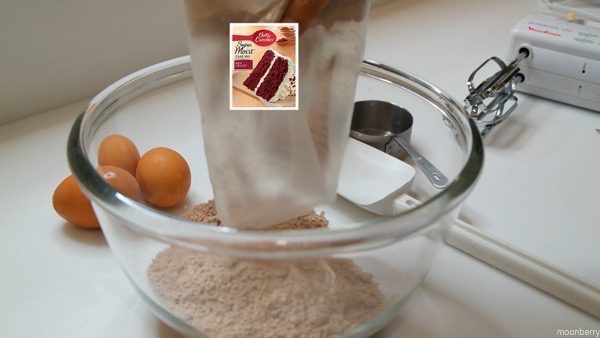
I don’t work with chocolate often so I needed to concentrate on the tempered chocolate and chocolate ganache portions of this creation. In order to simplify the entire baking process, I used a cake mix. Okay, so I cheated a little by using a red velvet cake mix in a box; I used Betty Crocker Super Moist. Fret not, all you purists can refer to my recipe for Royal Blue Velvet Cake and just use red food coloring, not blue. Instead of using cooking oil as instructed on the box, I subbed it with organic coconut oil. This was a great decision coz my cake came out super moist as a result. Y’all should try using coconut oil for your baking, if you haven’t already.
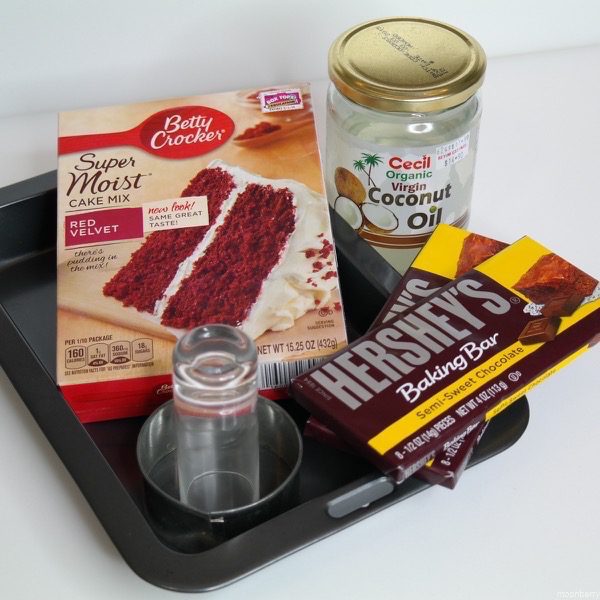
The chocolate tempering bizniz was a challenge because I messed up my first try. I overheated the chocolate, and even though it wasn’t burnt, it over-melted and didn’t solidify back. I also made the mistake of using a glass bowl, which I wasn’t supposed to, so the glass bowl continued raising the chocolate temperature and I ended up with chocolate syrup. Bleh, these things happen. It was late at night, I was in the kitchen alone with radio pop in the background while chopping, whirring, stirring, and filming… it was a Friday night after all and this was supposed to be a relaxing ritual of sorts.
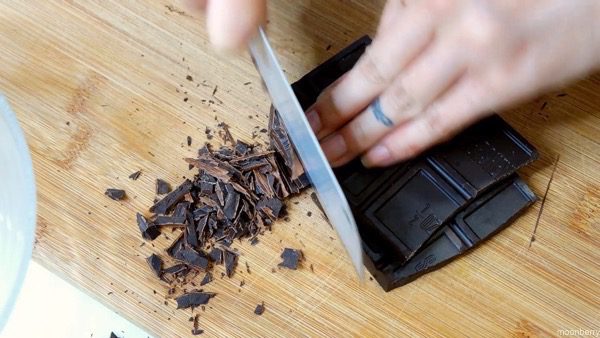
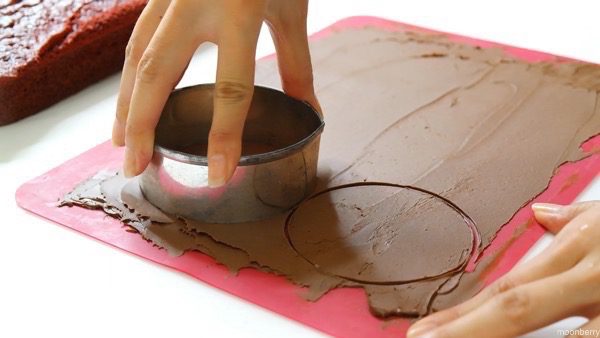
Luckily I had another chocolate baking bar on hand, foreseeing that surplus was necessary for insurance, so I set out to redo the tempering process. The second time I microwaved the chocolate bar that’s been shaved down to small bits, I used 10-second bursts twice followed by a 5-second burst. I managed to get the right texture and quickly spread it over a silicone baking sheet. When it began to harden, I used a round cookie-cutter to create discs and set the whole thing in the fridge for a few minutes. The chocolate syrup from my first boo-boo attempt didn’t get wasted as I added cream to it and made chocolate ganache, for the lava part of this recipe. Phew.
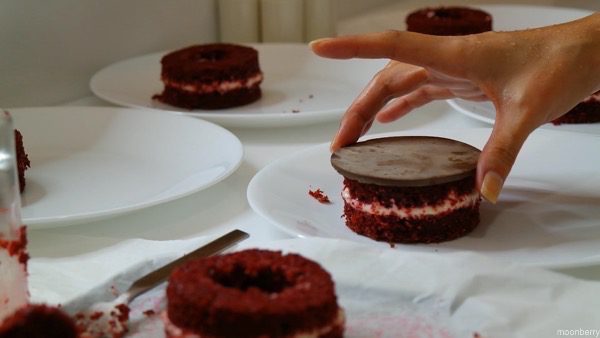
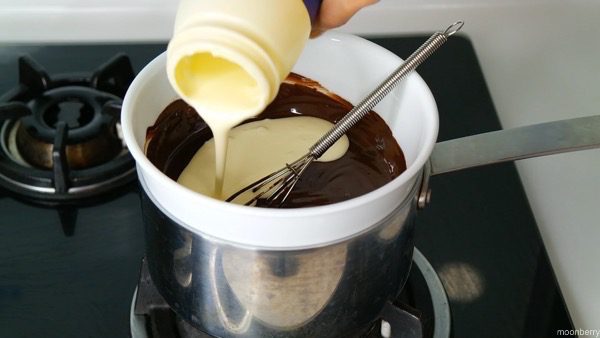
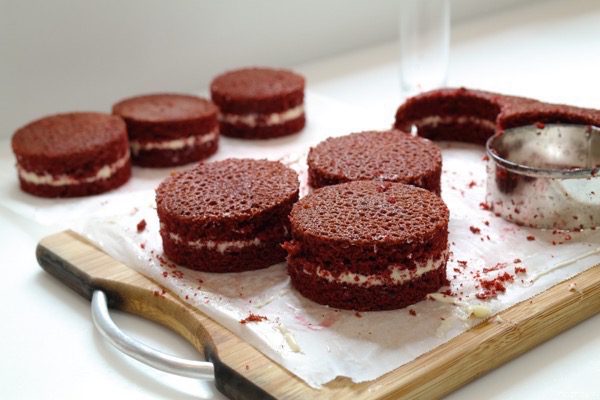
So in a nutshell, this creation is a red velvet cake shaped into mini round cakes with a layer of cream cheese frosting in between. Then a hole is cut out from the middle.
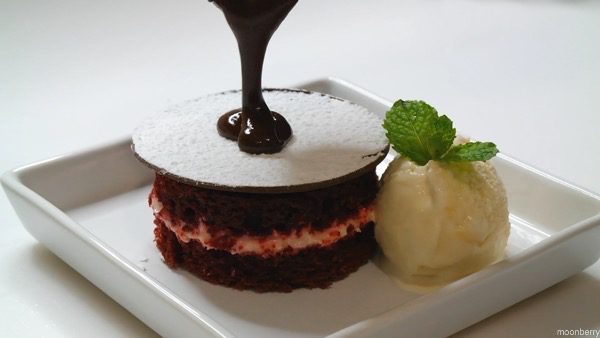
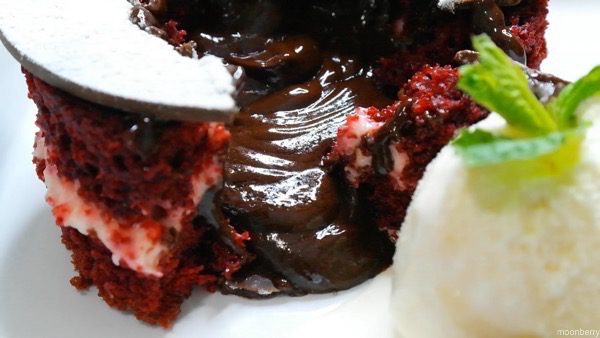
Get ready for oohs and aahs. The wow factor in this dessert is the way a chocolate disc sitting atop the mini red velvet cake melts and creates a well inside the cake, right in front of your eyes, when warm chocolate ganache is poured over it. And when you scoop into the cake, the gooey warm chocolate ganache oozes out sexily. Plate this dessert with a scoop of vanilla ice cream, and we’ve got a supremely memorable and impressive dessert at a dinner party. And the best part, no one would’ve thought that this over the top dessert course is inexpensive to make. The total amount of money I spent making this came out to around S$42; split that into six servings and so you’re looking at S$7 per unit. Whaaaaaaaaaat.
Red Velvet Lava Cake
For the cake: refer to my Royal Blue Velvet Cake recipe, or use a cake mix like I did.
For the frosting:
2 oz stick butter
8 oz package cream cheese
6 oz confectioners’ sugar, sifted
1/2 teaspoon vanilla
1/2 teaspoon salt
For chocolate discs:
1 chocolate baking bar, grate or chop into small pieces
For chocolate ganache:
1 chocolate baking bar, grate or chop into small pieces
2 tablespoon heavy cream
HOW TO:
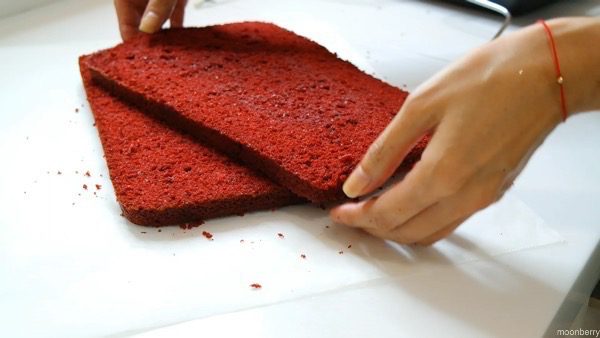
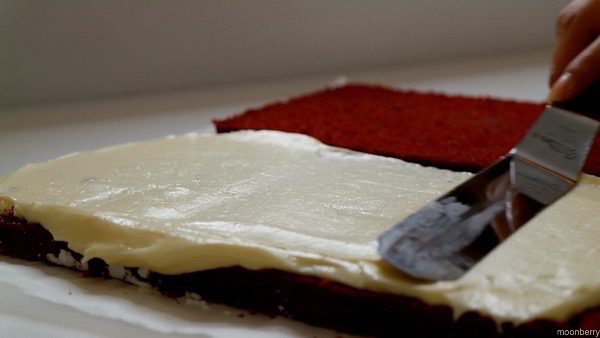
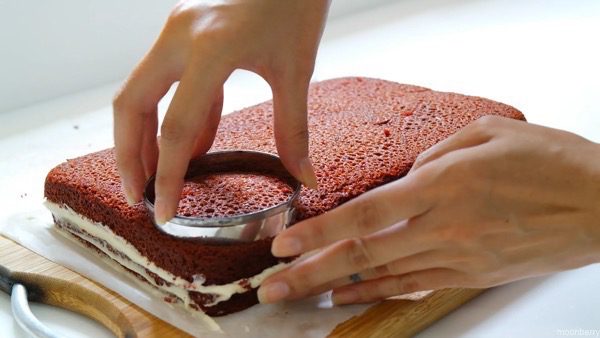
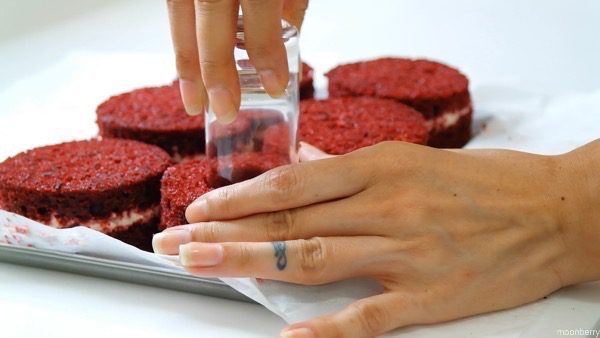
1. For the cake: bake according to box directions. When cake is cooled, cut into two layers. Spread frosting in between layers and using a round mold or cookie-cutter, cut out six mini round cakes.
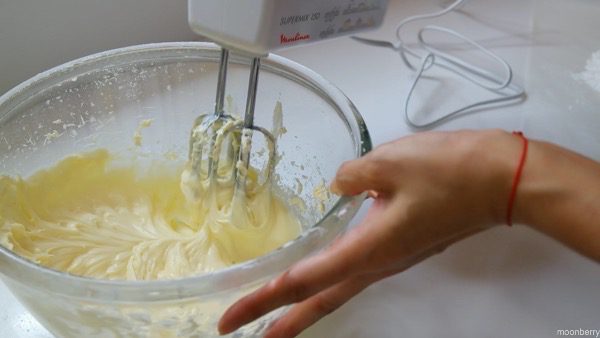
2. For the frosting: Add salt to sifted sugar. Let butter and cream cheese soften to room temperature. Cream well with sugar, add vanilla, and beat until mixed. Spread between layers of cake.
3. For chocolate discs: Put 2/3 of grated or chopped chocolate bar into a bowl (do not use glass bowl) and heat in microwave for 10 seconds. Take out, stir with a spoon, heat in microwave again for 10 seconds. Stir again and add the rest of the grated chocolate. By this time, you should attain a paste-like texture otherwise heat in microwave again for 5 seconds. Do not overheat the chocolate. The tempered chocolate should appear thick and matte in color. If it’s shiny and very liquid-like, then you have overheated the chocolate and it won’t solidify; redo.
Spread the tempered chocolate on a silicon baking mat or foil. After about 10 minutes or so, when it’s beginning to set, use a round mold or cookie-cutter to form six discs. Cover with foil and put everything into the fridge for 5 minutes. By the time you take this out of the fridge, the tempered chocolate will have hardened and using a spatula, lift up the cut out discs and put one over every red velvet mini cake. Save the remaining chocolate for a different project, or nibble at will.
4. For chocolate ganache: In a double-boiler, melt chocolate bar and stir until it’s glossy. Add cream and continue stirring. Keep warm until ready to serve.
Serving: Add a scoop of ice cream to the side of the cake. Bring to the table and pour warm chocolate ganache directly over the cake and chocolate disc. *insert gasps of delight here*
I wasn’t kidding about this being inexpensive to make, I made this dessert course for six people and everything came out to be S$40-ish.
Red velvet cake mix = S$5.55
Chocolate baking bars x 2 = S$10.00
Cream cheese = S$3.65
Powdered sugar (with excess) = S$1.95
Butter (with excess) = S$3.05
Vanilla ice-cream = S$14.50
Heavy Cream = S$3.50
(These prices are from RedMart.com, btw.)
Woo,
MB.

